Friday, November 29, 2013

New Location!

Newer, better, recipe updates, check it out! 

www.battermattersblog.wordpress.com

Monday, February 11, 2013

Savory Batters: Brussels Sprout Fritters

I've moved! Check out old recipes and new at www.battermattersblog.wordpress.com

Well this is an exciting first! Ladies and Gentlemen, the first Batter Matters savory post! I'm especially excited to share this with the Internets because I do way more savory experimentation in the kitchen then I do sweet, but sadly none of them have ever fallen under the category of batter or dough. Until FRITTERS. Why didn't I think of this before?


These were inspired by a recipe featured on TheKitchn that originally called for a couple eggs, goat cheese and Parmesan. I didn't have any of those things, and frankly didn't need them. After an initial  attempt to keep these fritters together with a hodge podge of tofu, oil, panko, and soy flour, I decided to start from scratch and try a more simplistic approach. One of my favorite ways to eat brussels sprouts is roasted with a smattering of tamari and olive oil. So with that flavor palette in mind, I added garlic, ginger, and a touch of lemon juice to round out this Asian Fusion style fritter. I ate mine with Tahini Sauce (a la Trader Joe's), but I bet a mixture of vegenaise and sriracha would be delicious as well.

Asian Fusion Brussels Sprout Fritters

Ingredients
1 tsp minced ginger
2 cloves minced garlic
1-2 shallots, thinly sliced
2 c. shredded or thinly sliced brussels sprouts
1 tsp tamari
½ tsp lemon juice
6 TBSP soy flour + 6 TBSP water, whisked to form a loose paste

In a large bowl toss together the shredded brussels sprouts and shallots. In a small cup combine the garlic, ginger, tamari, and lemon juice, then drizzle this mixture over the shredded veggies, making sure things are evenly coated.

Whisk together the soy flour and water to combine a paste, dump it on top of your brussels sprout mixture, roll up your sleeves and start mixing everything together with your hands. This part is really important for keeping your fritter batter together when these cook, so make sure you keep gathering loose veggie shreds from the bottom of the bowl so that everything is incorporated. Let the batter sit while you prepare your pan.

Pour enough oil into a (preferably) cast iron pan to totally cover the bottom. I used sunflower seed oil, because it has a higher smoking point. Heat the oil at medium high--it's ready to be used when you flick a little water in there and the droplets dance across the pan.

Carefully form your fritters, making sure that they're no more than ½ an inch thick. Gently place them in the oil and cook until browned on both sides. [I found that these flipped more easily if I used a plastic spatula rather than my silicone, because it allowed me to scrape the crunchy bits off the pan.]


 When the fritters are done, carefully remove them from the pan and place them onto a double layer of paper towels for about a minute to sop up any excess oil. Plate, drizzle with your preferred sauce, and enjoy!


Saturday, February 2, 2013

Vegan Bawlmer Bomb Pie

I've moved! Find this recipe and more over at www.battermattersblog.wordpress.com

Monday, January 28, 2013

Brown Sugar Cherry Walnut Scones

Once upon a time, in my youth, I had the best bagel ever. Topped with brown sugar, walnuts, and plump dried cherries, it never needed butter or cream cheese, it was always perfect slightly toasted. Its one of those flavor combinations that has stayed with me throughout the years and though I've occasionally tried to replicate it in various things, it never really had the same appeal. Until one fateful Sunday morning, when it became the best SCONE on planet earth.


I knew this was going to be amazing as soon as I mixed the wet and dry ingredients. [A word to the wise, people: make sure your baking powder isn't expired!! because it makes such a big difference in whatever you're making. I know, duh, but when was the last time you actually checked the date on the container?] The batter was airy and light, and when I mixed in the sugared walnuts, crunchy bits flaked off and dotted the entire batter. The result is a seriously gorgeous scone: crunchy on the outside, incredibly soft and fluffy on the inside, with plump cherries and sugared walnuts in each bite.


Brown Sugar Cherry Walnut Scones
Adapted from Vegan Brunch

Ingredients
1 c. raw walnut pieces
½ c. brown sugar
2 TBSP Earth Balance margarine
1 c. tart dried cherries
1½ c. almond milk
2 tsp apple cider vinegar
3 c. flour
2 TBSP baking powder
½ tsp salt
½ c. granulated sugar
½ c. vegetable shortening
2 TBSP vegetable oil
2 tsp vanilla extract

Preheat the oven to 375, and line two baking sheets with parchment paper. Place an extra sheet of parchment on the counter top for the sugared walnut mixture to cool on.

In a medium sized saucepan, melt the 2 TBSP Earth Balance on medium heat. Add the walnuts, stirring to coat, and then add the brown sugar. Allow the sugar to get a little bubbly as you stir to coat the walnuts, but be careful that the sugar doesn’t burn! I kept my mixture over heat for 1-2 minutes, max. Spread the nuts out in one layer on that extra sheet of parchment to cool.

In a small bowl combine the almond milk and apple cider vinegar, and allow the mixture to curdle.

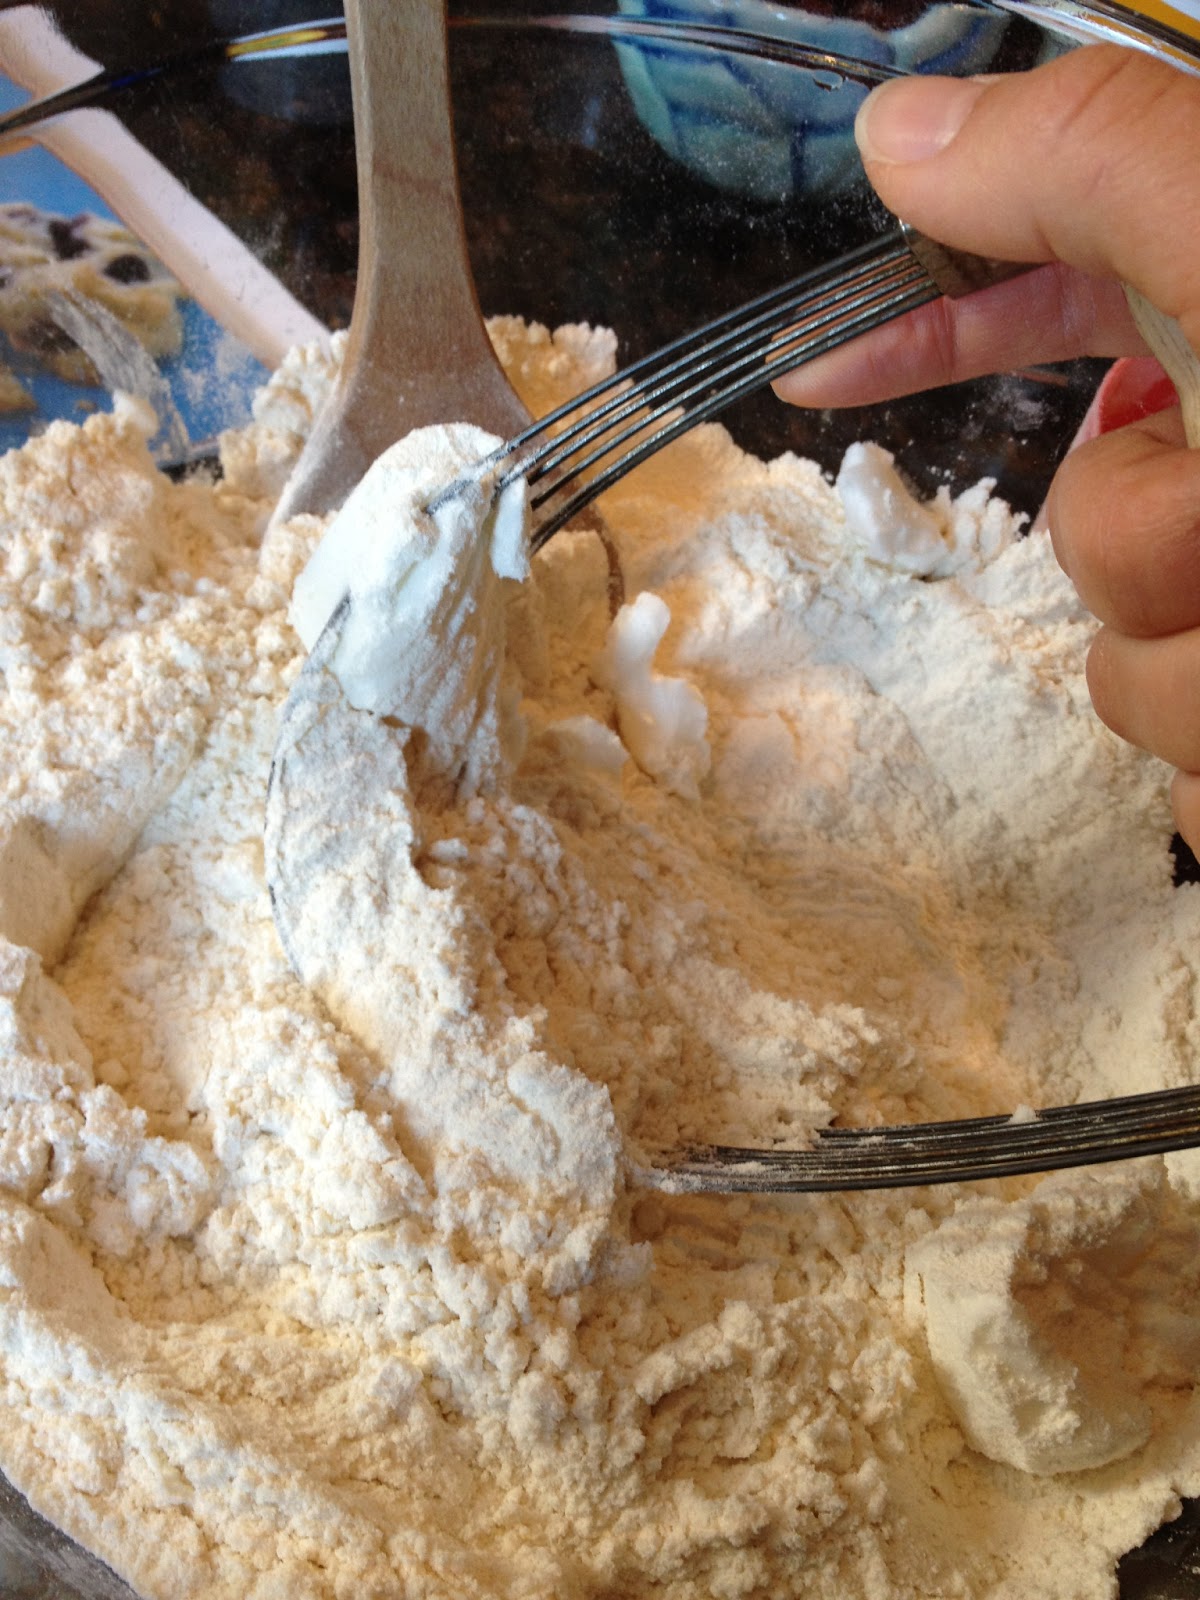
In a large bowl combine the flour, baking powder, salt, and sugar. With a pastry cutter, or your fingers, cut in the vegetable shortening until the mixture looks like little pebbles. Make a well in the center of the mixture and add the curdled almond milk, vegetable oil, and vanilla, and gently mix until everything is moistened. Carefully fold in the cherries and sugared walnuts.


Using an ice cream scoop, drop the batter onto the baking sheets and top with a sprinkling of brown sugar. Bake for 20-22 minutes. These are especially good fresh out of the oven, but they also stand the test of time if you're an alien and you want to wait until later.


Thursday, January 24, 2013

Sunday, December 9, 2012

Holiday Flavors & Baking for BARCS!

I can't imagine living in a place without all four seasons (although maybe I should amend that statement...wtf 70 degree days in December?!). Yes, I complain about being cold during the winter, but I love snow. And although I can't remember the last time I experienced a truly white Christmas, with lights sparkling in at least a couple inches of snow, it is one of the things I associate with the holidays in my head. Snow, Christmas lights, and peppermint. 


The peppermint part is a little weird since I don't really like it any other time of the year. But in December it just clicks and I want to eat it. I've had visions of the perfect peppermint/chocolate/white chocolate cupcake dancing in my head for a few years, but for some reason its never come to fruition until now. Just in time, and for a good cause!

 
I recently started volunteering at BARCS, the Baltimore City animal shelter. It's great, and hard, and wonderful, and sad all at once because I wear my heart on my sleeve when it comes to all animals, so I want to take all the pooches and kitties home with me. Even though I just started doing this, it's apparent that BARCS really benefits from its colossal number of volunteers and fosters. So when I learned about this opportunity to bake for BARCS, (thus combining 2 of my top 5 favorite things!) I was totally psyched.


Here's the deal (if you don't live in Baltimore, you can skip this part. Maybe donate to your local animal shelter instead!):


Each holiday season, W. 34th Street in Hampden puts on an insanely awesome Christmas light show. It's a really cute block and a must see if you (like me) love Christmas lights. It just so happens that one of the BARCS volunteers lives on 34th Street and has opened her house to the public during the month of December. In addition to lights and holiday cheer, BARCS volunteers will be on hand to provide hot cocoa, baked goods, dog treats, and cat toys in exchange for donations to the shelter.


So, as I mentioned earlier, this seemed the perfect opportunity to wield my spatula for a good cause (you know, as opposed to all the evil causes that hold bake sales) and I plan on contributing some sort of baked good each weekend. So if you're in Baltimore, stop by weekend nights (or every night during Christmas week) for a couple pepperminty cupcakes. And if you're not nearby, whip up a batch at home and enjoy whilst snugging all your animal friends!


Holiday Flavor:

Peppermint Cupcakes with Chocolate Buttercream Frosting

Ingredients:


For the cupcakes:

1 c. almond milk
1 tsp. apple cider vinegar
c. canola oil
¾ c. sugar
1 tsp. vanilla extract
½ tsp. peppermint extract
1¼ c. flour
2 TBSP cornstarch
¾ tsp. baking powder
½ tsp. baking soda
½ tsp. salt
c. crushed candy canes (or other crushed hard peppermint candy)

For the icing:
¼ c. Earth Balance margarine
¼ c. vegetable shortening
½ c. unsweetened cocoa powder
2½ c. powdered sugar
2-3 TBSP almond milk
1 tsp. vanilla extract
12 candy cane stubs for decoration (optional)

Preheat the oven to 350 degrees, and line your cupcake tins.

Combine almond milk and apple cider vinegar, and set aside to curdle. In a separate large bowl, mix the flour, cornstarch, baking powder, baking soda, and salt together. Add the canola oil, sugar, and extracts to the curdled milk and whisk to combine. Slowly add the wet ingredients to the dry, and mix until just combined, with no large lumps remaining. Fold in crushed candy cane pieces.

Fill each liner about two thirds full (a ¼ c. measuring cup does nicely), and bake for 20-22 minutes, until the cupcakes are nice and golden, and a toothpick comes out clean. Cool in the cupcake tins for 10 minutes, and then move each cupcake to a cooling rack.

While the cupcakes cool, make your frosting. With a stand or handheld mixer, whip together the margarine and shortening until fluffy. Add the cocoa powder in two batches, and the vanilla, mixing until both are incorporated. Add the powdered sugar in ¼ c. increments, alternating with splashes of almond milk when the frosting gets too dry. Once everything is added, whip the icing for about 5 minutes (the longer you whip, the fluffier your frosting will be and the more compliments you will get!).

Make sure your cupcakes are completely cool before you even think about icing them! Otherwise you’ll have a big melty mess on your hands. Once they’re cool, proceed to spread or pipe the icing onto your cakes (I pipe using a jumbo star tip). Stick one peppermint stick piece into the top of each cupcake for extra holiday flare.


Monday, November 26, 2012

Deep Dish Caramel Apple Pie

When it comes right down to it, I'm a cherry pie kinda gal. A generous slice of cherry pie, warmed in the microwave, and topped with a scoop of ice cream, is just about as perfect as it gets for me. I'm such a cherry pie fanatic that I'll pretty much always turn my nose up at its rival, the apple pie. I just think that even your standard grocery store cherry pie is always tart and tingly, but those same apple pies can be mushy, grainy, gelatinous, and sad. And who wants to eat pie that tastes of sad?! But a couple years ago, after a fall outing to our local pick-your-own, my friends and I stumbled upon a Deep Dish Caramel Apple Pie recipe on Epicurious.com. I'm sure I was a brat about having to make an apple pie, but I trust my friends when it comes to food, so we made it. And it was SO GOOD.


Still, there were a few things I thought needed to be tweaked, which I obviously tried out when I made this for myself. The original recipe calls for a strudel topping with pumpkin pie spice. Meh, strudel. I prefer the buttery flakeyness of a double crust, latticed if you don't want it to be too heavy (and because looking at a lattice top pie that you made yourself will make you feel like a god damn rockstar. I promise.) I'm also not really a fan of premixed spices. If you're working with fresh, seasonal apples, they should be the breakout star of this pie -- anything else is just there to give their flavor depth and dimension.


I used a couple different types of apples, including Granny Smiths, that were described as good pie apples at the Farmer's Market. A few dashes from various (individual) spice jars, a tablespoon or two of bourbon and voila! An apple pie that makes even the stanchest of cherry pie fanatics happy. Enjoy!

Deep Dish Caramel Apple Pie

Adapted from Epicurious.com


Ingredients:
1 double pie crust (I used the Buttery Double Crust recipe from Vegan Pie in the Sky)

8 apples (Granny Smith or a combination of good pie apples)
¼ c. flour
a dash
each of allspice, nutmeg, and ground cloves
3 shakes of cinnamon

1¼ c. sugar
¼ c. + 2 TBSP water, separated
3 TBSP Earth Balance Margarine
2 TBSP Bourbon

Core, peel, and slice apples approximately ¼ to ½ an inch think, and set aside in a large bowl. Combine the flour, allspice, nutmeg, ground cloves, and cinnamon and add the mixture to your bowl of apples. Toss to coat and set aside.

In a large heavy saucepan, mix the sugar and ¼ c. of water over medium heat, stirring until sugar has dissolved. Then, increase the heat until your mixture reaches a rolling boil. Continue to boil until the syrup turns a deep amber color, about 5 minutes. [I always get paranoid at this part, but a wise someone once told me that although sugar goes from syrupy goodness to burnt mess really quickly, you’ll definitely know when that’s about to happen. So don’t take it off the stove before 5 minutes or you’ll lose out on a really good caramel flavor.] Once the syrup is that deep amber color, remove the saucepan from the heat and add the Earth Balance, bourbon, and water. The mixture will bubble and hiss at you but don’t panic, that’s what’s supposed to happen. Return the saucepot to the stove and swirl until the Earth Balance is melted. Then pour the caramel over the apples and quickly toss to coat. Let the filling sit for 5-10 minutes, so that the apples release their juices. The caramel will harden, but that’s okay.

Preheat your oven to 375 degrees.

While the filling sits and the oven preheats, place one of the double crusts in a 9-10 inch pie plate. And make sure it’s a deeper pie dish (at least 1¾ in. high), or you may have some spillage in the oven. Carefully spoon the apples and caramel chunks into the pie plate. 


Now if you wanted to save some time, you could just place the other pie crust on top of your filling. (Be sure to cut 3 steam slits in the center of it, and crimp your edges together.) But if you want to make pie like a rock star, follow these handy dandy illustrations courtesy of Bon Appetit (the pictures are way easier to follow than the written directions):


Yes! Bake pie for about 1 hour and 5 or 10 minutes, until apples are tender and the lattice and crust are golden brown. Let the pie sit for an hour, more if you can stand it. It makes a nicer looking slice than the delicious apple slop I plated for myself. No matter, it didn’t last long.


If you make anything from this blog, make.this.pie. It's really amazing. In fact, a very discerning palate informed me that this is the "best f**king pie you've ever made" -- and how can you ignore a review like that?!


Combine apple wedges and 1/4 cup flour in large bowl and toss to coat. Let stand while preparing caramel.
Stir sugar and 1/4 cup water in heavy large saucepan over medium heat until sugar dissolves. Increase heat and boil until syrup turns deep amber color, brushing pan sides with wet pastry brush and swirling pan occasionally, about 5 minutes. Remove from heat. Add butter and remaining 2 tablespoons water (mixture will bubble vigorously). Return to heat and stir until smooth. Pour caramel over apples; toss to coat. Let stand until apples release juices, tossing occasionally, about 10 minutes.
Position rack in bottom third of oven and preheat to 375°F. Roll out dough on floured work surface to 14-inch round. Transfer to 9 1/2-inch-diameter glass pie dish with 1 3/4-inch-high sides. Crimp edges decoratively. Spoon apple mixture into prepared crust. Sprinkle streusel over pie.
Bake pie until apples are tender and streusel is golden, covering crust edge with foil if browning too quickly, about 1 hour 10 minutes. Transfer pie to rack and cool at least 1 hour. Serve pie warm or at room temperature.


Read More http://www.epicurious.com/recipes/food/views/Deep-Dish-Caramel-Apple-Pie-100341#ixzz2DHbRABnJ
Combine apple wedges and 1/4 cup flour in large bowl and toss to coat. Let stand while preparing caramel.
Stir sugar and 1/4 cup water in heavy large saucepan over medium heat until sugar dissolves. Increase heat and boil until syrup turns deep amber color, brushing pan sides with wet pastry brush and swirling pan occasionally, about 5 minutes. Remove from heat. Add butter and remaining 2 tablespoons water (mixture will bubble vigorously). Return to heat and stir until smooth. Pour caramel over apples; toss to coat. Let stand until apples release juices, tossing occasionally, about 10 minutes.
Position rack in bottom third of oven and preheat to 375°F. Roll out dough on floured work surface to 14-inch round. Transfer to 9 1/2-inch-diameter glass pie dish with 1 3/4-inch-high sides. Crimp edges decoratively. Spoon apple mixture into prepared crust. Sprinkle streusel over pie.
Bake pie until apples are tender and streusel is golden, covering crust edge with foil if browning too quickly, about 1 hour 10 minutes. Transfer pie to rack and cool at least 1 hour. Serve pie warm or at room temperature.


Read More http://www.epicurious.com/recipes/food/views/Deep-Dish-Caramel-Apple-Pie-100341#ixzz2DHbRABnJ

Saturday, November 24, 2012

Monday, October 29, 2012

Peach Puree Bundt Cake with Genius Glaze!


Sometimes genius strikes at inopportune moments. Like during the countdown to Frankenstorm Sandy’s annihilation of the East Coast. When most people are stocking up on water, batteries, and junk food, and hunkering down, I’m trying to figure out with to do with 2½ cups of homemade peach puree. I ultimately decided, after trying to be all fancy (Peach & Rosemary? Peach & Lavender? Hurricane what?), to err on the side of simplicity and make a plain old peach bundt cake. The genius came the next morning when I decided to try and use the last ¼ cup of puree.


I started this blog to document my kitchen experiments. I’ve realized that I need to think things out a bit if I’m going to write a post, which is fine, but overcoming mediocre recipes or missing ingredients to create an ultimately amazing final dish is something I love to do and pride myself on. This glaze is one of those “shit yeah!” recipes success stories that I got really excited to share with the internetz, and it goes a little something like this.

When I mixed powdered sugar with the puree, the taste was too sweet – it didn’t really have any tang to it. So I mixed in some lemon juice, but that just made it too lemony. Sigh. A couple dashes of cinnamon and cardamom didn’t give it the tang I was looking for, either. I was about to give up on the glaze (the cake is really moist and delicious, and doesn’t really need a glaze…) when I had a flash of inspiration! Ginger! The flash of inspiration should really be attributed to my sister who had requested I bake something with Rosemary, Lemon, and Ginger (to be experimented!) but as soon as it popped into my head I knew ginger would be the perfect addition. About a teaspoon and a half of minced ginger added the perfect amount of tang to counteract the teeth-melting sweetness, while bringing out the peachiness of the puree.


Peach Puree Bundt Cake with Peachy Ginger Glaze

For the cake
1¼ c. sugar
½ c. Earth Balance
3 tsp. egg-replacer + 4 TBSP water, mixed until frothy
2¼ c. pureed peaches
2 c. all-purpose flour
1 tsp. cinnamon
1 tsp. baking soda
1 tsp. baking powder
¼ tsp. salt
1 tsp. almond extract

Preheat oven to 325 degrees. Cream together the sugar and shortening until light and airy. Add the egg-replacer mixture, and combine thoroughly. Add peach puree, almond extract, and all dry ingredients, mixing to combine (but don’t over mix the batter).

Pour batter into a well-greased bundt pan, and bake for 55 minutes, or until a tester comes out clean. Let cool before flipping cake onto a serving plate. Allow the cake to cool completely before you top it with the glaze.


For the glaze
1/3 c. peach puree
¾ - 1 c. powdered sugar (add more or less to adjust the consistency)
½ tsp. lemon juice
dash cinnamon
dash cardamom
1 tsp. minced ginger

Combine all ingredients except for powdered sugar. Whisk the sugar by the TBSP full, until desired consistency is reached. Drizzle over the entire bundt cake, or as you cut each slice.


Stay inside and stay dry everyone! See you on the other side of the storm!

Wednesday, October 17, 2012

Caramel Apple Sticky Buns

One of my favorite things about fall, and October specifically, is caramel apples. This is in addition to soup, stews, colorful trees, seasonal squashes, spiced baked goods, and apple cider. But caramel apples! I'm pretty sure I would try to eat a dozen caramel apples if you put them in front of me, or succumb to the sugar coma while trying. Last year I went to the Apple Festival at the pick-your-own farm near the city, and was horrified to learn that they were SOLD OUT OF CARAMEL APPLES. Now, I'm a grown-up human being, but I'd be lying if I said I didn't sulk for a few minutes when I found out.

Couple that craving with the fact that I've been wanting to make sticky buns for a long time, and you've got yourself a delicious idea. So when I saw a picture of a Caramel Apple Cinnamon Bun from the Farmers Market, it was like hearing a choir of angels singing, "Hey, you should make that. But Sticky Buns instead of a glazed Cinnamon Bun. Also, aaahhhhhh!"


So, I did. I pieced together a few caramel sauce recipes from the internet, used the dough from the Vegan Brunch cookbook, and the remaining apples from my Labor Day pick-your-own fruit adventure and voila: a delicious fall Sunday morning treat, totally worth the Saturday night prep.

You should be advised of a couple things from the outset:

1. This takes about 2 hours worth of prep the night before (or the morning of, if you're an early bird). The majority of that time is spent waiting for your dough to rise, but there's a good bit of assembly at the end, so make sure you start it early enough.

2. It makes 12 huge rolls, so if you think this might be a nice treat for you and a friend, you'd be right, and then some. Feel free to halve the recipe, or freeze individual unbaked rolls right after you cut them to bake later. Just be sure they thaw before you bake them.


Caramel Apple Sticky Buns

For the dough:
3½-4 c. flour
1 tsp cinnamon
½ c. warm water
2¼ tsp yeast
¾ c. warmed almond milk
1/3 c. vegetable oil
¾ tsp salt

For the Caramel Sauce:
½ c. light corn syrup
½ c. brown sugar, lightly packed
8 TBSP Earth Balance

For the Filling:
5-6 small apples, peeled, cored, and chopped
4-5 TBSP brown sugar
1 tsp lemon juice
dash cinnamon

8-9 tsp Earth Balance

Cinnamon Dough
In a large mixing bowl, mix yeast, 1 tsp sugar, and the warm water. Let sit, and the yeast will bubble and foam. Once you see that, add the remaining sugar, milk, oil, salt, cinnamon, and 2 cups of flour. Using the dough hook on a mixer, add flour by the half cup, until you have added 3½ cups total. Continue to need in mixer or by hand, for 5-7 minutes, until you have a smooth ball of dough. Place in a greased bowl and leave in a warm place so that dough can rise, about an hour. 

While the dough is rising, make the Caramel Sauce and Apple Filling.

Once the dough has risen, punch it down and let sit for 10 minutes.

Caramel Sauce
Combine all the ingredients in a sauce pan over medium heat. Stir constantly until the Earth Balance has melted and then whisk to combine. Once the sauce starts bubbling, remove from heat. Set aside to cool.

Apple Filling
Combine apples, lemon juice, and brown sugar in a medium sized bowl, making sure the apples are all coated more or less evenly, and then set aside.


Sticky Bun Assembly

Pour the Caramel Sauce into a large baking dish [mine is 10x15, but 9x13 will work as well], making sure the entire bottom is covered. Set nearby.

On a lightly floured surface, gently roll the dough into an approximate 12x18 inch rectangle. Spoon tsp sized dollops of Earth Balance evenly across the dough. Give your Apple Filling a good stir in the bowl, so make sure that all the apple pieces get to sit in the juices, before using a slotted spoon to spread the apple evenly across the dough. [In the photos you can see that I did not use a slotted spoon, so my dough was kind of juicy. This is fine, but it makes the rolling process a little messy, so my advice is to limit the amount of juice that gets inside your dough.]


Slowly roll the dough long-ways, making sure the apples get rolled too, not just pushed along to the other edge. Roll as tight as you can, but if it's not impenetrable, it's not a big deal. Tuck the ends under, and use a little bit of water to seal the seam along the top.


Cut the dough roll into 12 even slices. [Deb from Smitten Kitchen has excellent advice for how to slice through the dough without smashing down the roll: using a serrated knife, hold the handle gently, in your finger tips, and use a back and forth motion using only the weight of the handle as the downward force.] Place the slices face-down in the Caramel Sauce, evenly spaced. You should be able to get 2 rows of six, but if you have to sneak one in a corner or in the center, that's fine too. Cover with plastic wrap or a clean dish towel, and let sit in a warm place for 30-45 minutes. They will just barely double in size.


**If you are prepping these for the next morning, this is the point at which you can finally go to bed! Make sure your raw rolls are wrapped with plastic, and stick them in the fridge over night. Just let them sit out for about 20-30 minutes before you bake them the next morning.**

To Bake
You worked so hard to prep these, so here's the easy part: Preheat the oven to 375 degrees. Bake the rolls for 20-22 minutes, or until light brown on top. If you have a big enough serving dish, or even a cookie sheet with sides, you should flip the sticky buns out of the casserole dish, being sure to scrape all the remaining sauce over the plated buns. Slice and enjoy!